🔔 Pusher Settings
Pusher is a service that allows you to send real-time notifications to users, enhancing the user experience and ensuring important updates reach them as they happen.
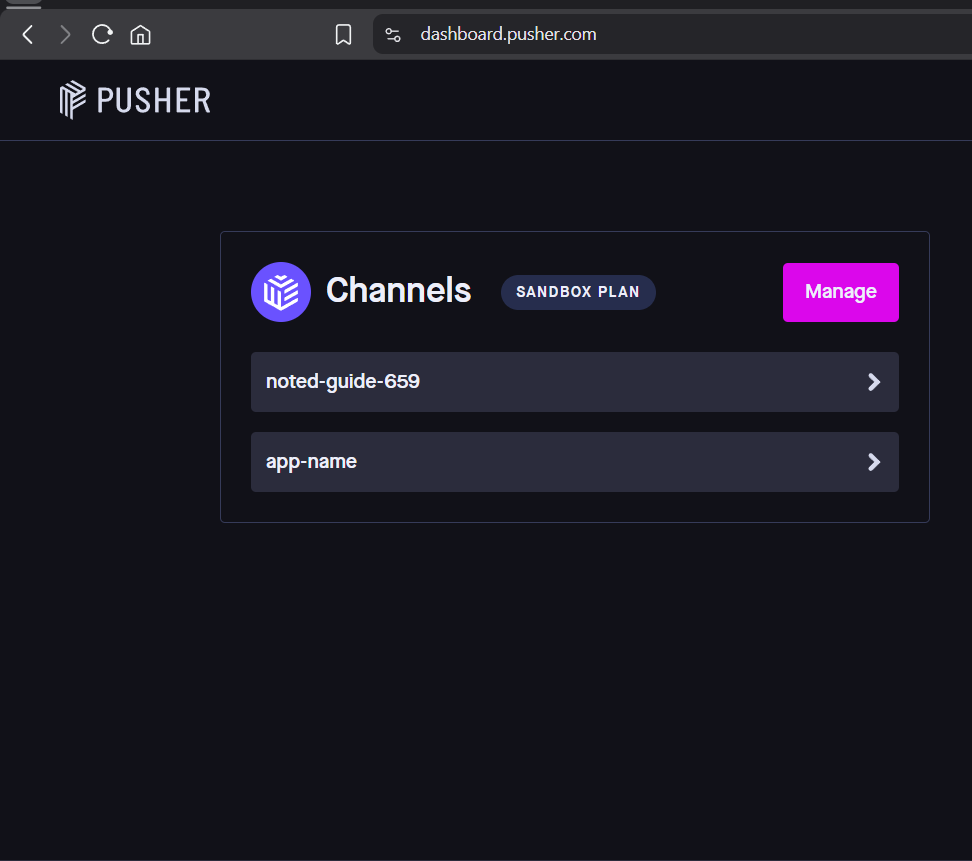
1. Pusher Dashboard (App List Screen)

Create or Select Your Pusher App
Log in to your Pusher account at: https://dashboard.pusher.com
Make sure you are using the Channels product.
If you do not already have an app:
- Click Create App
- Choose the appropriate region (recommended: closest to your server location)
- Click Create App
If the app already exists, simply click on the app name (for example: app-name) to open it.
✅ This app will be used to connect the system to Pusher for real-time functionality.
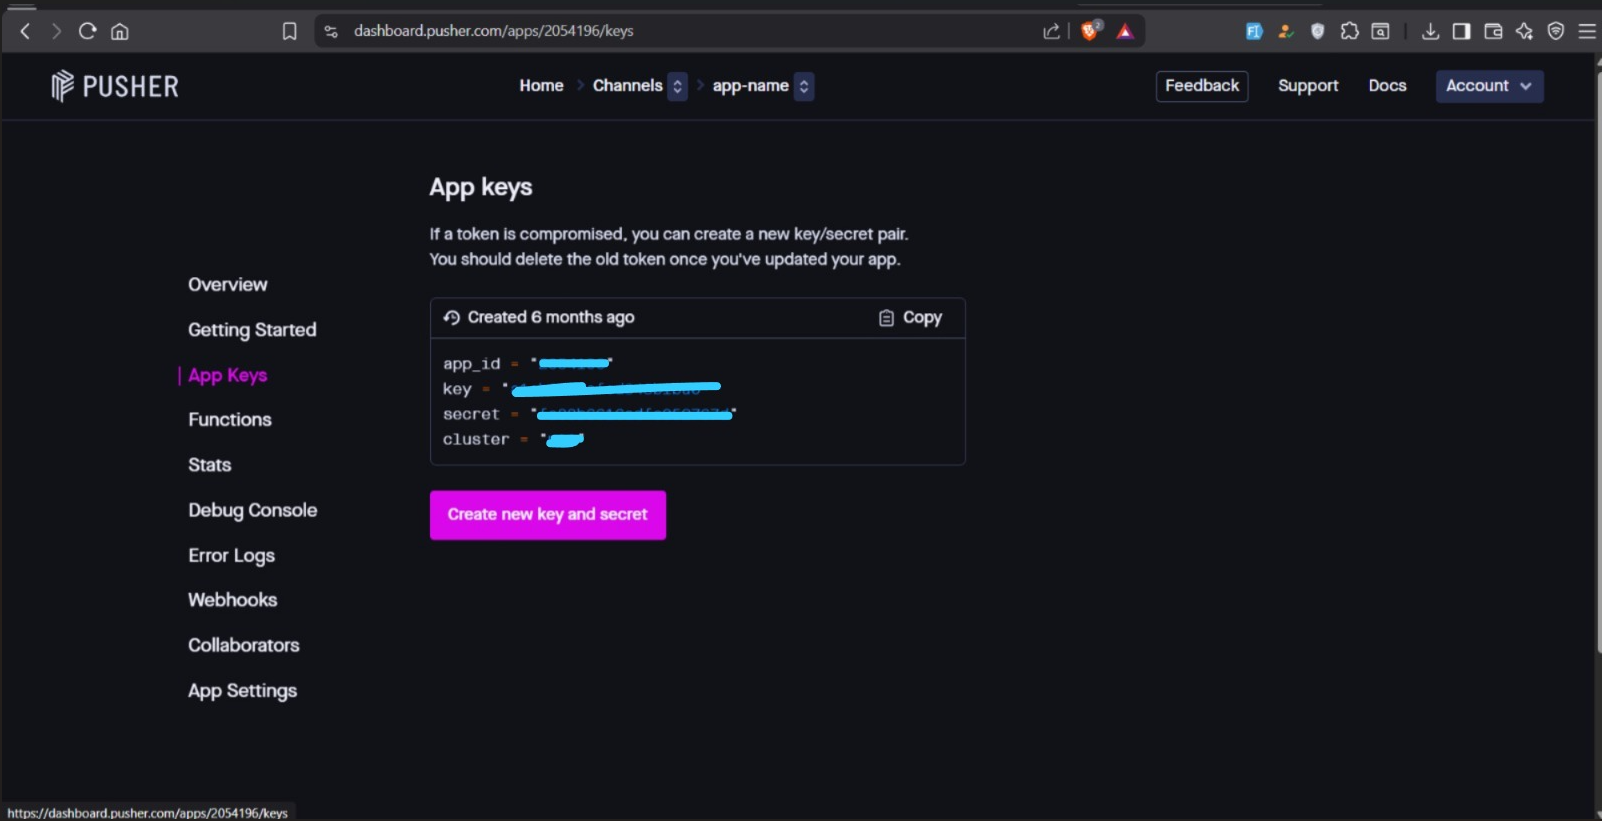
2. App Keys Page
Copy Your Pusher Credentials
Inside your selected app, click App Keys from the left menu.
You will find the following credentials:
| Field | Description |
|---|---|
| App ID | Your application's unique identifier |
| Key | Public key used to identify your app |
| Secret | Private key used for authentication |
| Cluster | Server region (e.g. mt1, eu, ap1) |
Copy these values carefully. You will need to insert them into the system exactly as shown.
⚠️ Important
- Do NOT share your Secret Key publicly.
- If the secret is compromised, generate a new one immediately.

3. Admin Panel Real-Time Settings
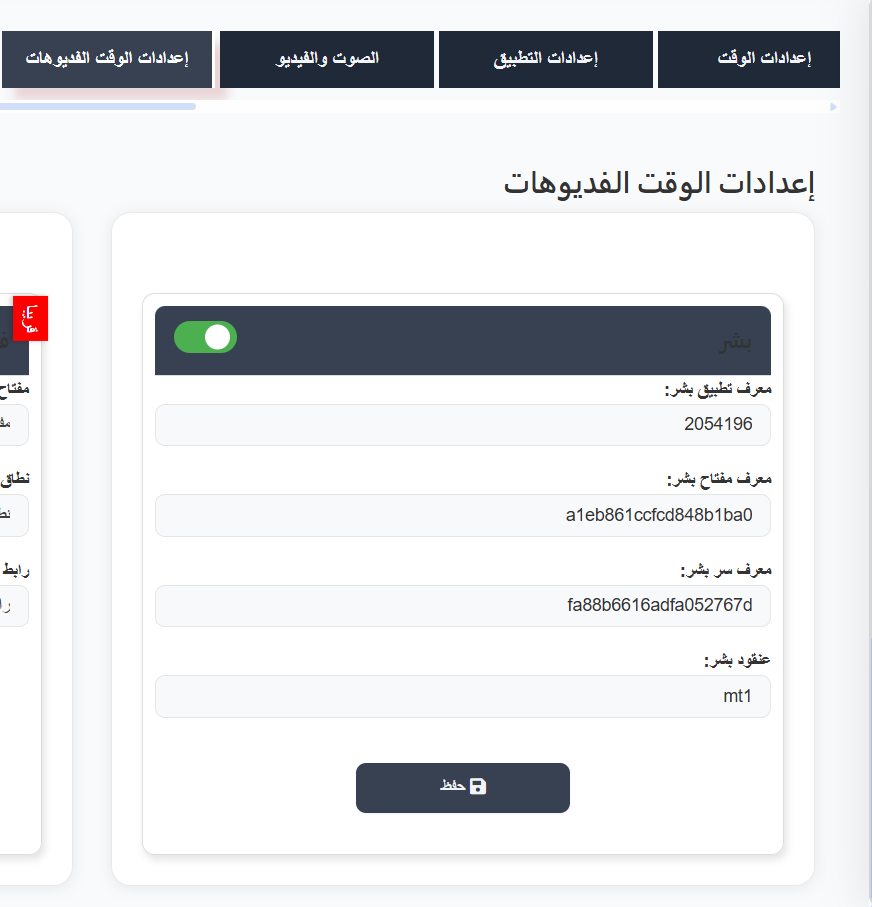
Add Pusher Credentials to the System
- Go to the Admin Panel.
- Open Real Time Setting.
- Enable the Pusher toggle (turn it ON).
- Fill in the fields using the values copied from Pusher:
| System Field | Pusher Value |
|---|---|
| App ID Pusher | App ID from Pusher |
| App Key Pusher | Key from Pusher |
| App Secret Pusher | Secret from Pusher |
| Pusher App Cluster | Cluster from Pusher (e.g. mt1) |
- Click Save.
✅ The system is now connected to your Pusher application.
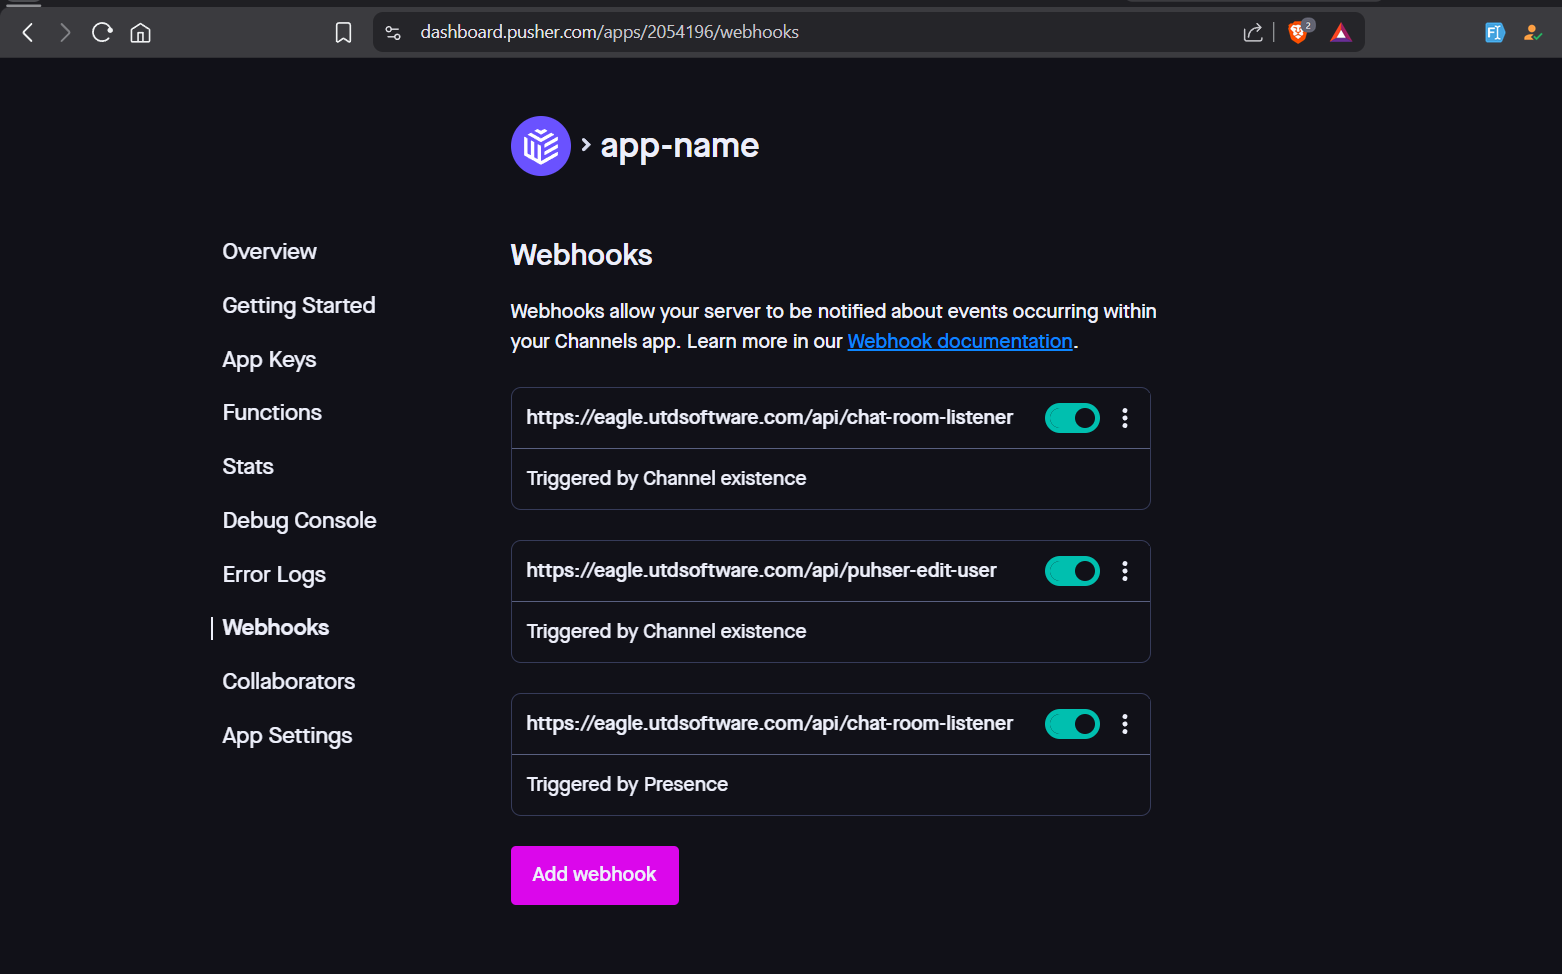
4. Webhooks Configuration
Add Required Webhooks
Webhooks are required so the system can detect:
- ✅ Channel creation and deletion
- ✅ User presence (join/leave)
- ✅ Real-time updates
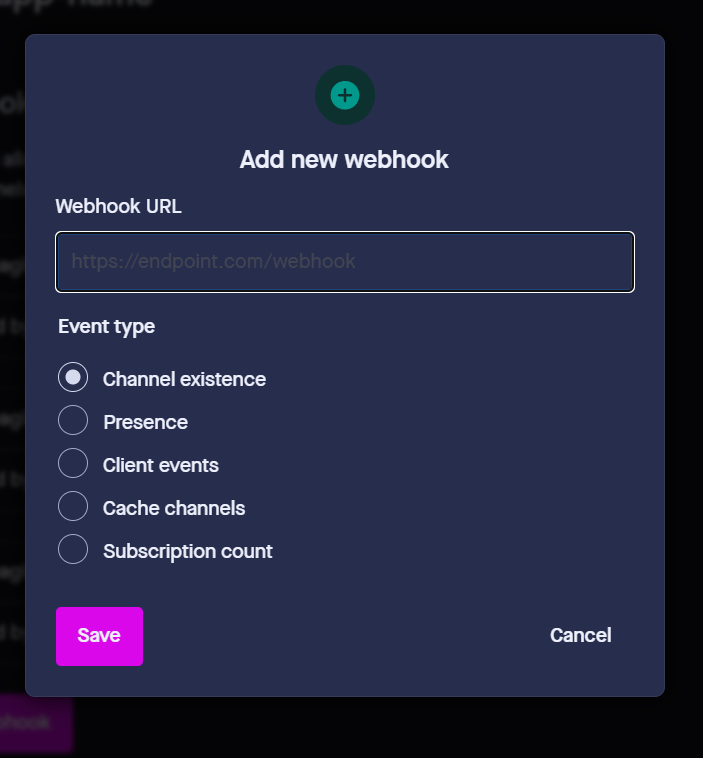
How to Add a Webhook
- Go to your Pusher dashboard.
- Click Webhooks.
- Click Add Webhook.
- Enter the required Webhook URL.
- Select the appropriate Event Type.
- Click Save.
Required Event Types:
| Event Type | Status |
|---|---|
| BASE_URL/api/chat-room-listener Channel existence | ✅ Required |
| BASE_URL/api/chat-room-listener Presence | ✅ Required |
| BASE_URL/api/pusher-edit-user Channel existence | ✅ Required |
5. Enable Client Events (App Settings)
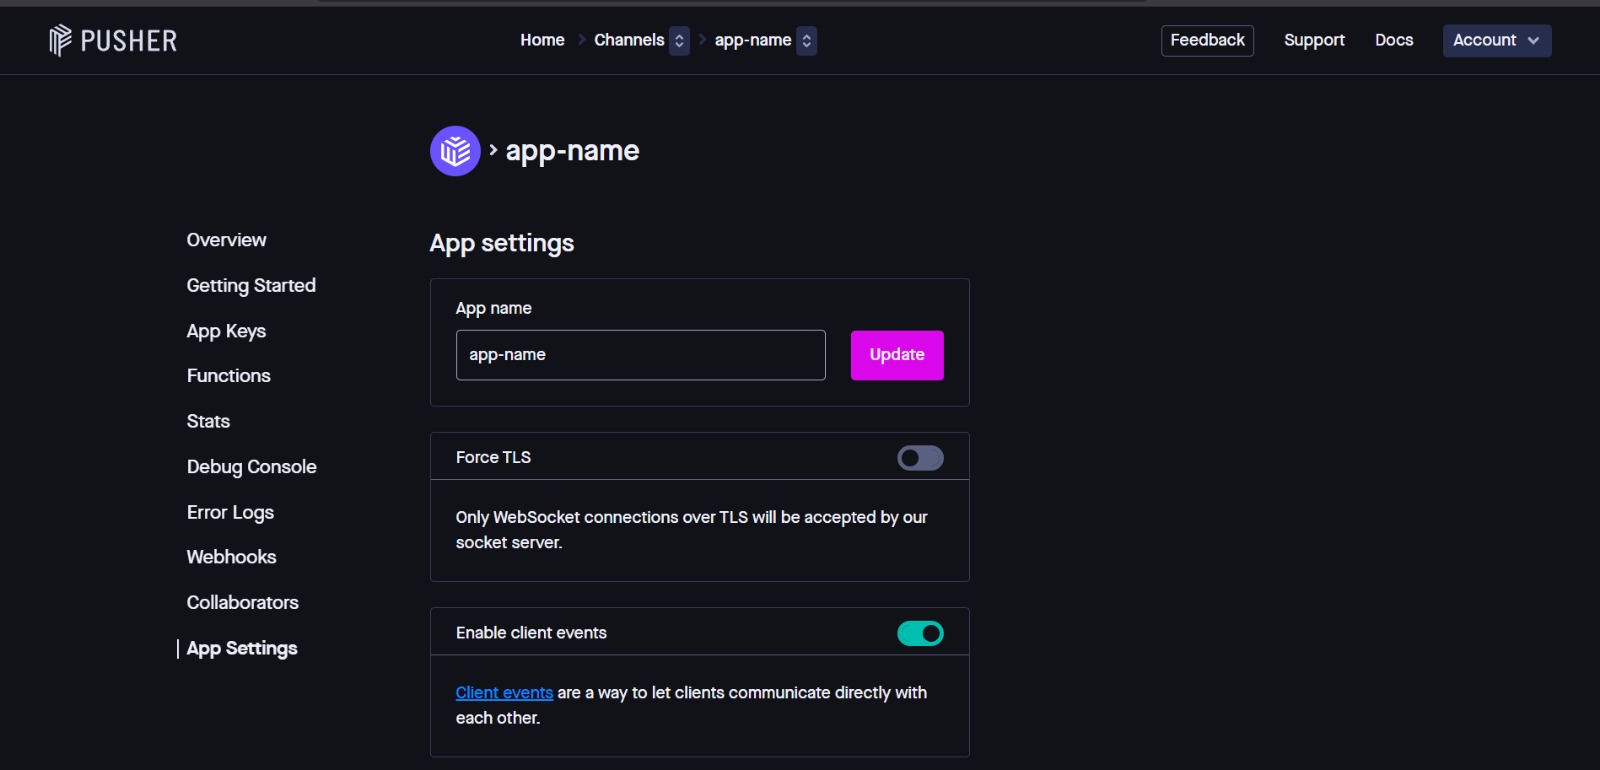
Enable Client Events from App Settings
For the system to work properly with Pusher, you must enable Enable client events from the App Settings in the Pusher dashboard.
- Go to the Pusher dashboard at: https://dashboard.pusher.com
- Click on your app name.
- From the left menu, click App Settings.
- Find the Enable client events option.
- Turn it ON 🟢.
What are Client Events?
Client events allow users to communicate directly with each other through Pusher without going through the server. This feature is essential for chat and real-time interaction to work.
✅ After enabling, the system will be able to send and receive events between users in real-time.
Tips:
- Make sure your Pusher account details are correct to avoid notification issues.
- You can test by sending a test notification after configuration to ensure it works.